OOTD: Neons & Nudes

19:56

I was recently contacted by Sugarlips Apparel to see if I wanted to check out their clothing, after having a browse on the website (and seeing many things I wanted) I chose this dress, available here.
It's a US website which I'd never heard about but I think I've found a little gem! There's something on the site for everyone as there is such a vaste range of types of clothing. The dress arrived within 10 days of being sent and shipping is free!

I've currently been loving the trend of teaming neons and neutrals together so this dress is perfect for that trend with the stone colour teamed with the orange stripe detailing.


Dress - Sugarlips Apparel(*)
Necklace - H&M
Belt - Pieces (via ASOS)
Shoes - Jeffrey Campbell Litas.

The weather has been miserable here in Britain so I've not had chance to wear this yet but I'm off out with my boyfriend on a date night tonight so i've finally had chance to wear it!


My make up -
Chanel Vital lumiere aqua
MAC select moistcover concealer
MAC translucent powder
Topshop cream blush in flush
Benefit Watts Up highlighter
MAC Harmony blush
HD brow powder
Lancome Doll eyes mascara
Nars Isolde eyeshadow duo
MUA liner pen
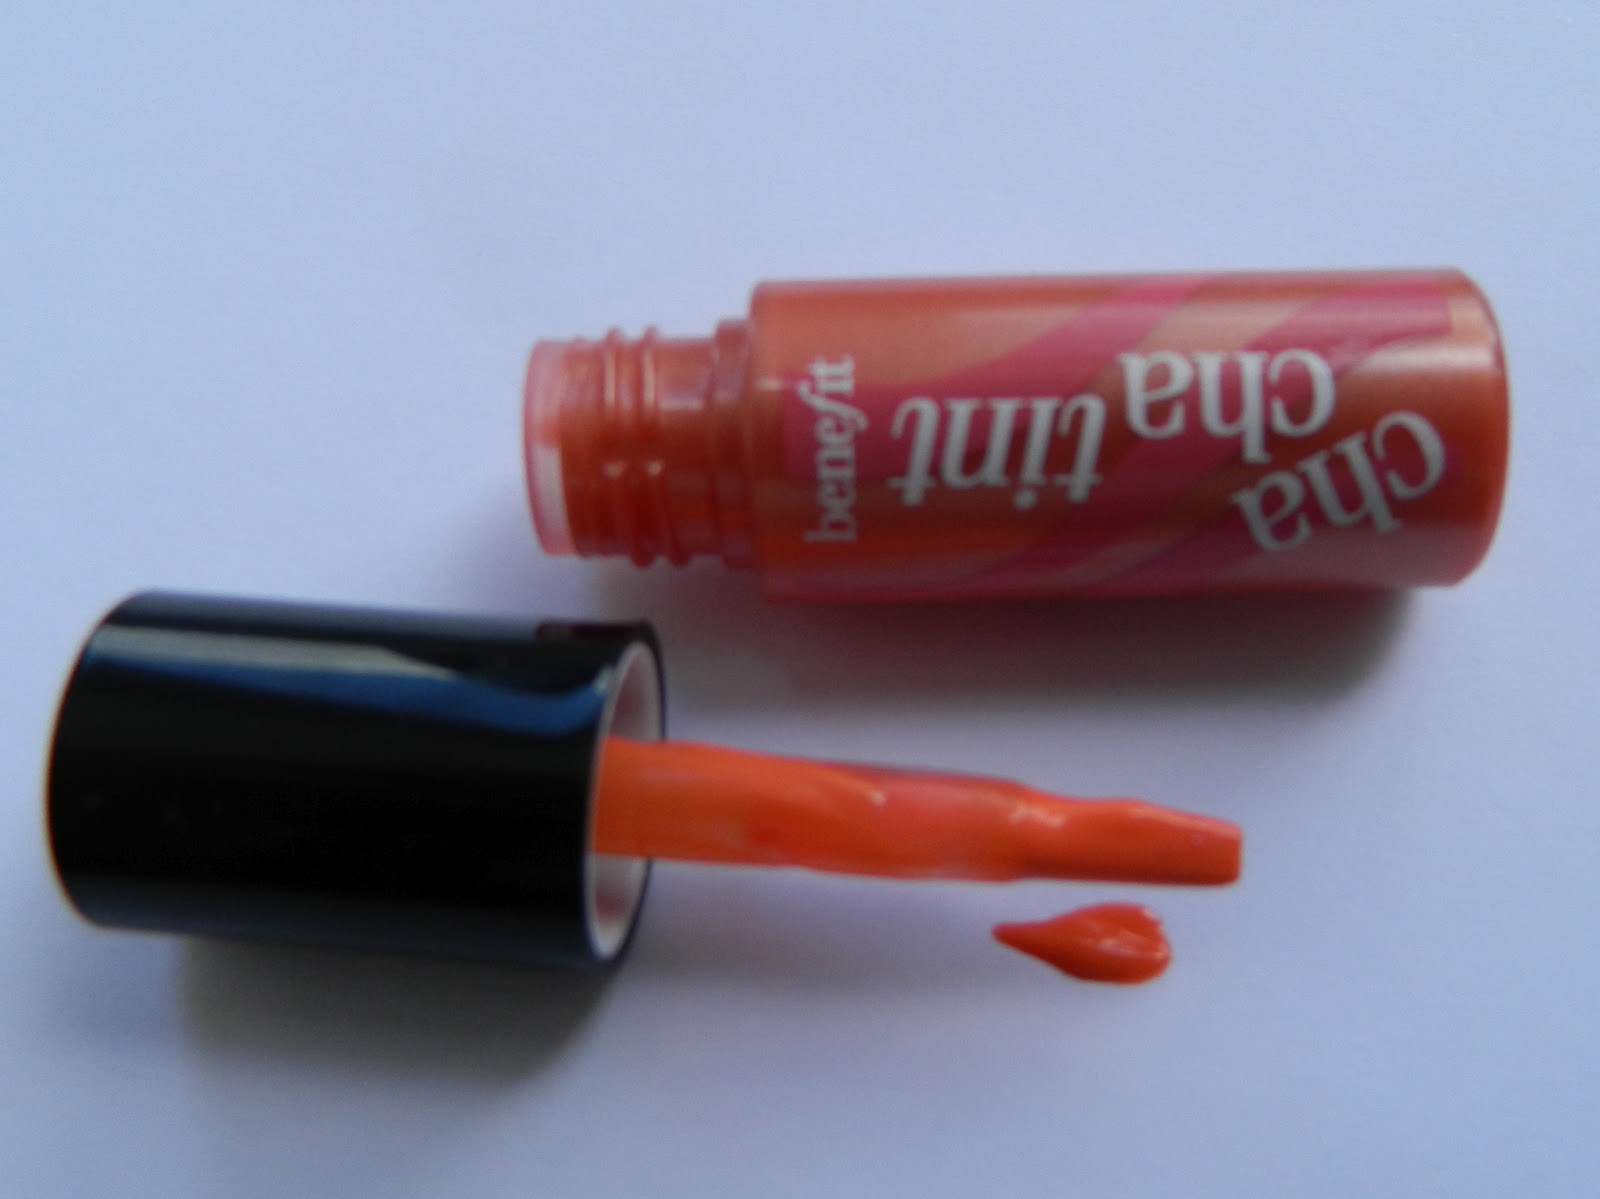
MAC Watch Me Simmer lipstick


(Sorry about the lighting in the pics, due to the horrible weather it's hard to get decent lighting in my house).

Mascara Monday: Lancome Doll Eyes Review

08:51

So this is the third mascara review on my quest to find the perfect mascara, I previously confessed that thus far this is the closest mascara I've found to my perfect mascara. However, the £20.50 price tag puts me off buying it regularily.

I usually test these mascara's out for two weeks however, I have tried this out for a lot longer as this is my second tube of Lancome Doll Eyes mascara!


(Lashes with no mascara, rubbish picture I know, sorry! my lashes are a light brown though)


(Lashes with one coat of Lancome Doll Eyes mascara)


(Lashes with two coats of Lancome Doll Eyes mascara)


Packaging: 5/5 Not only is this packaging sleek with it's glossy black and pretty floral pattern but it's handy! It's durable and the curve down the centre makes it easier to hold as your applying!
Brush: 4/5 The tapered brush makes it easier to catch those little hairs at the edges that a larger brush would clump up. Also the brush has loads of bristles which makes sure every lash is coated. Sometimes lashes are brushed together therefore stick together.
Consistency: 4/5 The consistency of the product is a perfect balance between thick and watery, it makes for ease of building the mascara up. However, I find when you build up too much it starts to clump.
Ease of application: 3.5 The formula dries quick therefore no smudging or flaking. If your building up this mascara with several coats it needs to be worked with quick as the formula dries quick if several lashes are stuck together thats how they'll remain.
Overall look: 4/5 I love how this mascara makes my lashes look! It gives both length and volume I love how it wings out my outer lashes (not very technical but i hope you know what I mean!)My only problem with this mascara is it can clump if not worked with quickly. But once it's dry it causes no problems and stays put all day!
Price: £20.50 - expensive I know, that's why I'm on the hunt for an alternative. Right now Id say it's worth the price as I haven't found a mascara as good as it.


DIY: Pearl studded denim shirt

20:21

After seeing pearl studded items on Zara and Miss Guided I thought I'd give it a whirl.

I decided to stud a denim shirt I had bought from Primark last year, I was going to throw it out but I thought I'd re-vamp it instead!

What you will need:

  1. An item of clothing you want to stud
  2. Some pearl studs
  3. A pair of scissors
  4. Super glue

I got my pearl studs from ebay here £1.83 including P&P for 20, I think they are meant for paper-craft however, with the technique I use they are perfectly fine for studding clothing. They are 8mm and are faux white pearl with antique gold looking edging, with a hoop which slots over the stud.


First I carefully pierced a hole with the tip of a pair of scissors. Be patient with this, just carefully wiggle the scissors until a small hole is formed.


Place the tip from the stud through the hole, ensuring the pearl side is on the outside of the collar.


Flip the collar over and pull the stud tight.


Then add the ring to trap the fabric, push this as tightly towards the fabric as possible. Making sure the fabric is wedged between the stud and the ring.


Put superglue around where the base of the stud and the ring meet. this will ensure that the stud is sturdy (The stud locking with the ring may not be strong enough on it's own.)


Then repeat the process in whatever pattern you want, I was going for a triangle shape at the tip of the collar...


Until you get this! :)


Easy simple way of re-vamping an old shirt! for the price of £1.83! BARGAIN!

 I'm not sure whether this will work wll with chiffon fabrics as when you pierce the hole the fabric is likely to stretch and therefore the hole will become too big for the stud. As long as the fabric is moderatly thick I'm sure it will work.

Do you like DIY posts? If so I'll do more of them

Nars Blush Giveaway Winner!

11:17

So it's time to announce my Nars blush giveaway winner, thank you to everyone who entered and to all of the followers of my blog. I really appreciate your support.

The winner was chosen using Random.org from a list of names I'd put into a word document (if you tweeted your name was put down 6 times.)

The winner is Aimee Bergstrom from Neon Bible!


Aimee please contact me sian_jolly@hotmail.co.uk with your address so I can order your blush and get it sent out to you :)

Thank you to everyone will entered! I hope to be hosting another giveaway for my Blogs first birthday in September so keep and eye out for that!

Sleek Eau La La Liner in Melba: Review & Swatches

11:26


Sleeks' Eau La La liners are a liner which is a multi-purpose face product. They have a soft texture but are still firm enough for you to have control whilst lining. I really love the formula of these; they retail at £3.99 and come in a wide spectrum of colours.
 
Melba is a corally - peachy colour. I've been mainly using this as a lip liner.


I love the colour it is quite unique. These pencils tend to be very pigmented therefore there is no need to keep going over, with one swipe the colour is true to product.


Because of how soft these pencils are they apply smoothly without dragging making it easy to apply to the lips. There is a small gap in drying time of about 30 seconds to one minute where the liner can be smudged so you need to be sure to be careful.

I found out of all of the pencils this colour had a drier formula than the others, when applied to the lips it dried them out a little bit which wouldn't be a problem if I'd have moisturised my lips well before applying. I don't know if it was because I got a dud in a batch or whether this colour is in fact a bit drier than the rest.

This colour gives a matte finish whereas the other colours give more of a satin finish.

Overall, In love this pencil the colour is gorgeous however, I'm disappointed that this colour is drier than the rest I've tried.

These pencils have great staying power and will only be removed with a make up remover or wipe.

Want to check out my other Sleek Eau La La Liner reviews? Moulin Rouge here Satchel here


Graze box #2: Review & Free box code!

11:31


I've been looking foward to this weeks Graze box as last weeks goodies went down a treat! As soon as I opened the box I instantly knew I was going to love these little snacks!


I took this to work with me for the train journey and it was lovely. The apricots and the raisins were nice and juicy, the dark chocolate added that little naughtiness without it being too naughty!


Honey and lemon oatbakes was delicious! The oatbakes had a lovely crispy yet chewy texture with a slight hint of lemon, the honey complimented it wonderfully making the oatbakes less dry.


These were so delicious! The peppery taste went really well with the pistacio!


I wasn't too keen on the fire cracker, Everything had the same quite hot flavour but I wasn't a big fan of the texture of the crackers.


I have a code if anyone wants to get a free box: 579V7BLD

Have you entered my Nars Blush giveaway? If not click here!

Benefit Cha Cha tint: Review & Swatches

14:11


I got this set from ASOS here. It's £23.50 for the cult favourite box blush Hoola bronzer and includes sample sizes of Cha Cha Tint and Watts Up! highlighter.


Cha Cha tint is a mango coloured lip and cheek tint, I love me an orange lip! so a stain is perfect.


Unlike Posie Tint and Bene Tint I find Cha Cha Tint easier to work with on the cheeks, it blends out beautifully and when added lightly adds a bit of warmth, but when added a bit more heavily adds a pop of colour.

(Cha Cha Tint heavily swatched and blended out)


Cha Cha tint is probably the most consistent of the tints. I found that it was hard to get Bene Tint and Posie Tint to apply on the lips without streaking. Cha Cha Tint applies quite evenly.

I think it would be harder to get a completely even coat of these lip stains due to the really liquidy texture and the condition of your lips at the time. I like to prep my lips prior to applying and after the stain has dried putting lip balm over it.

Have you tried any of the Benefit tints? What are your thoughts?

Benefit Watts Up! Highlighter: Review & Swatches

14:05


I got this set from ASOS here. It's £23.50 for the cult favourite box blush Hoola bronzer and includes sample sizes of Cha Cha Tint and Watts Up! highlighter.


The set included a 2.5g sample size of Watts Up! which is Benefits' newest highlighter. I have been dying to try this product out.

The colour is a champagney golden creamy colour rather than the starker coloured High Beam. High Beam was my holy grail highlighter and I say WAS as this has totally knocked it out of the water. This is now my new HG highlighter. It gives an amazing glow to the skin. I can't wait to get the full size version which also contains a sponge to blend out the highlighter.

I wouldn't recommend applying this directly to the skin from the tube as it makes it harder to blend. I prefer applying this with my fingers by warming up the product with my fingers and then blending it across the cheek bones.


Watts Up! heavily swatched and blended out

What's your holy grail highlighter?

Have you entered my Nars Blush giveaway? If not click here!